Welcome to our comprehensive guide on applying chrome nail polish at home. Embarking on the DIY journey can be both rewarding and cost-effective. Let's not forget the satisfaction of mastering a skill that helps you look your best! This guide is here to make salon-quality chrome nails achievable for everyone, from novices to seasoned DIY-ers.
We're going to discuss everything from basic tools to applying the stunning chrome finish. A key highlight of our guide is the importance of using cruelty-free nail polish. Choosing vegan options is not just an ethical decision but one that could benefit your nail health too!

Your Nail Art Toolbox
Starting with a well-equipped nail art kit or toolbox is the first step to achieving stunning chrome nails. Here, we'll discuss basic and specialized tools, and the importance of selecting ethical, vegan nail polish.
The Basics
Before we dive into creating those stunning chrome nails, let's talk about the essential tools you'll need. Every nail set should include a nail file, a cuticle pusher, a nail buffer, and a selection of brushes for precise application. Each tool plays a crucial role in the overall process, ensuring a neat and professional-looking result.
The Specialized Tools
Chrome nail application requires some specialized tools, including a UV/LED lamp for curing, an applicator for the chrome powder, and a silicone brush to remove excess powder. Collecting these in a nail polish kit can simplify the process and keep your workspace organized.
The Ethical Choice: Vegan Nail Polish
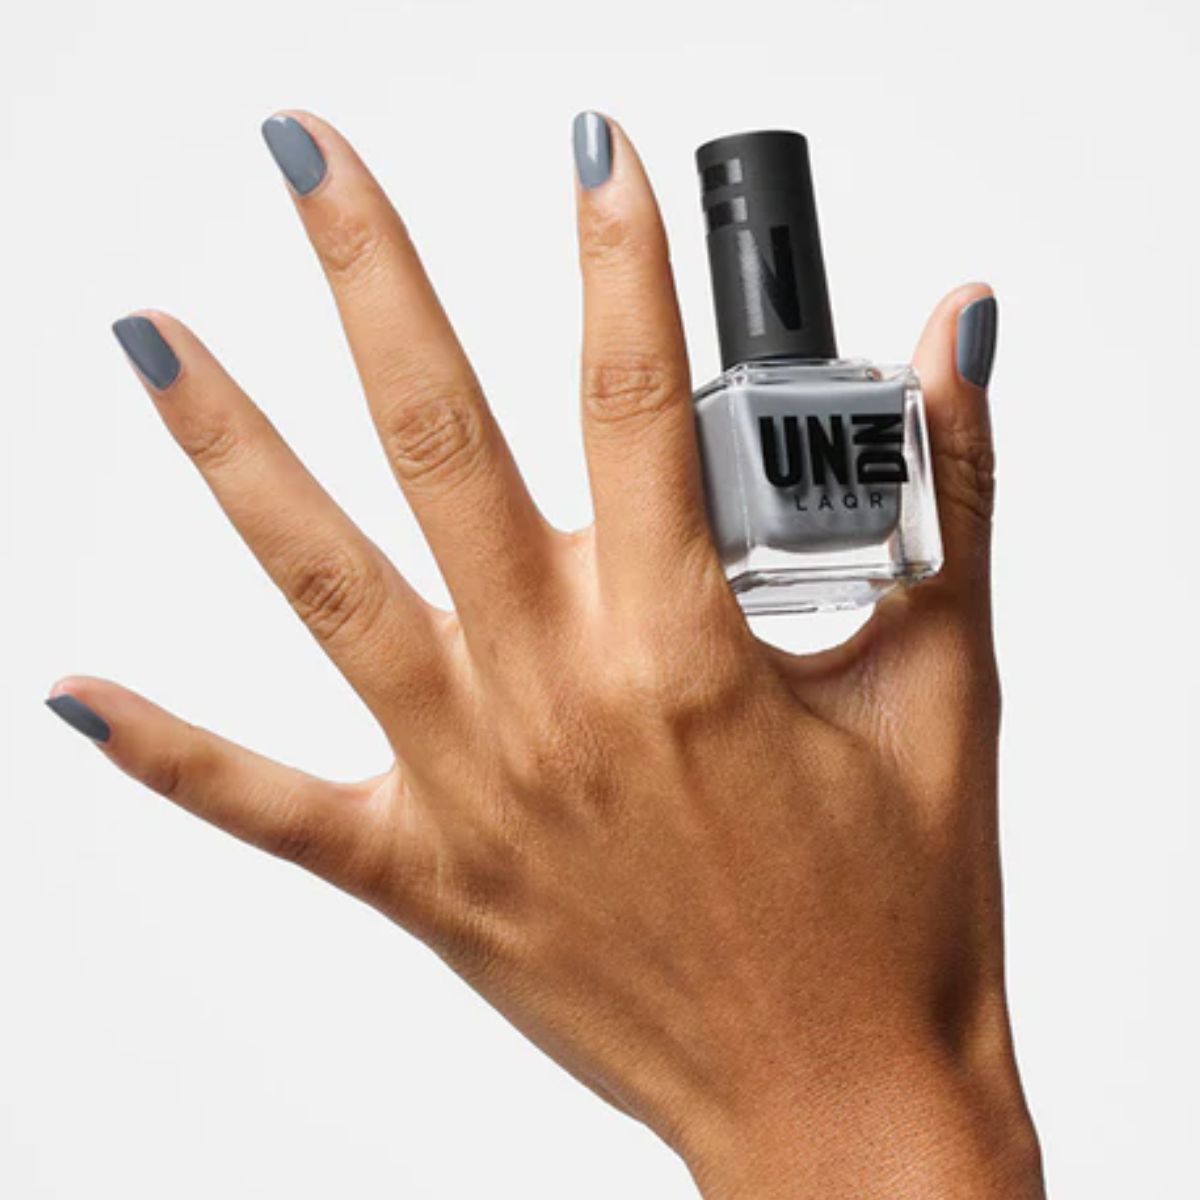
Moving onto the materials, it's crucial to choose best vegan nail polish. Vegan, cruelty-free options are not only ethically superior but also devoid of harsh chemicals that can damage your nails over time.
Keeping It Unbiased
While guiding you, we are committed to remaining brand-neutral. The aim is to equip you with the knowledge to make your own informed choices when selecting your nail polish sets.
Prepping Your Canvas
Preparation is key in nail art. This section will guide you through cleaning and shaping your nails, cuticle care, and the application of nail primer.
- Clean and Shape - To begin the process, you'll want to ensure your nails are clean and properly shaped. A bit of warm water, mild soap, and a soft brush should do the trick. After cleaning, use your file to shape the nails to your desired style.
- Caring for Cuticles - Next up, cuticle care. Gently push back your cuticles using the cuticle pusher from your nail set. Maintaining well-tended cuticles is key to a professional-looking manicure.
- Primer Time - Lastly, it's time to apply a nail primer. The primer acts as an adhesive for the polish, ensuring your manicure lasts longer.
Applying the Base Coat
A good base coat is crucial for the perfect chrome finish. Here, we'll delve into selecting the right color and how to apply and cure your base coat.
Color Selection
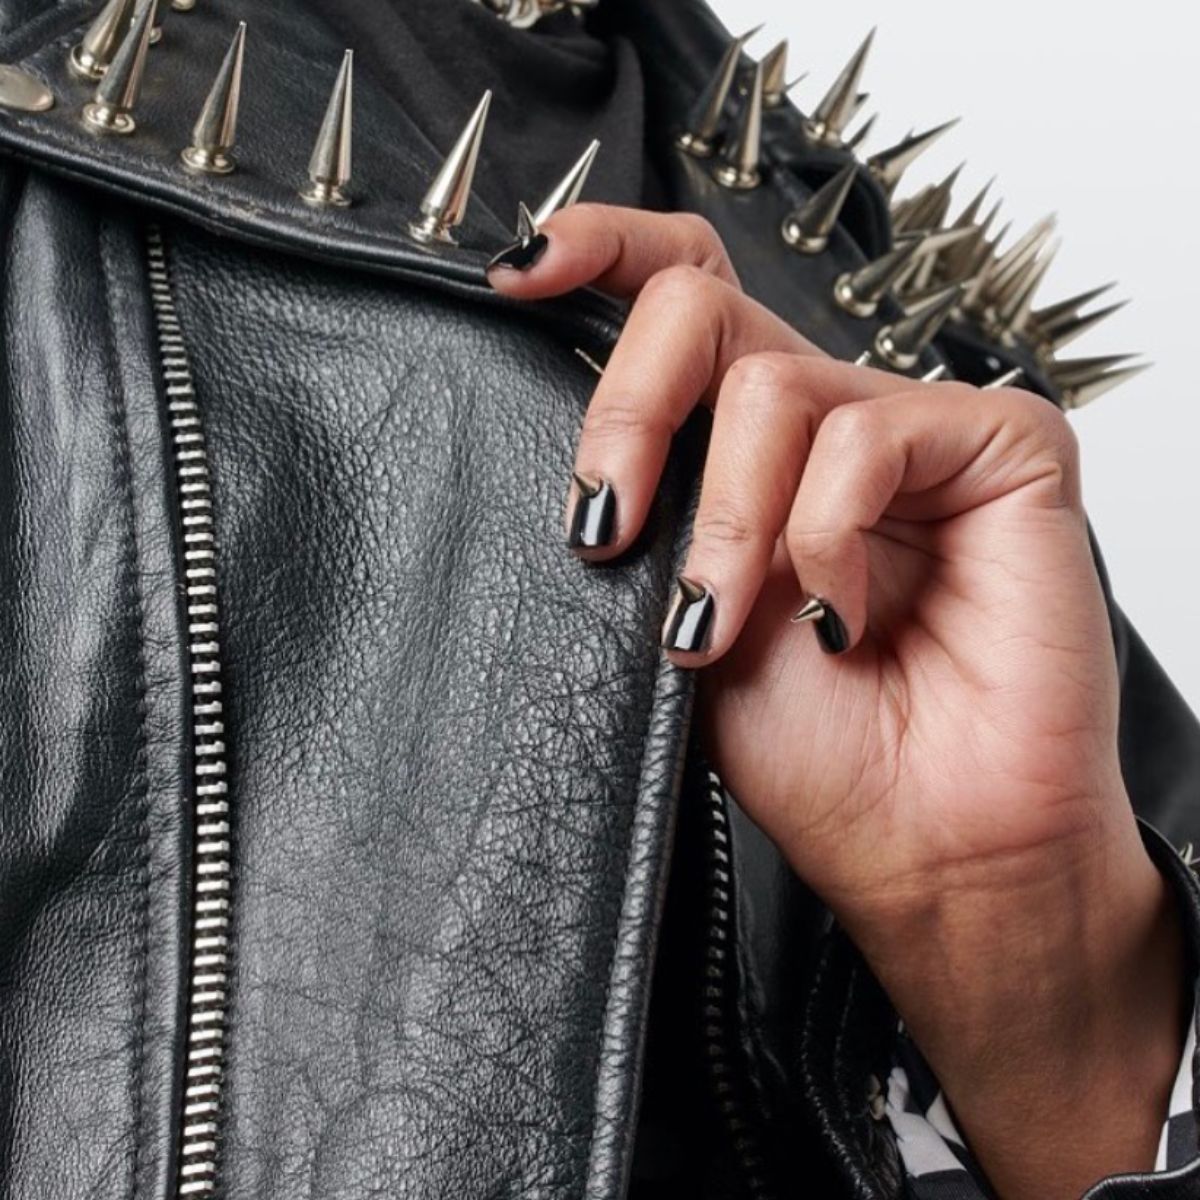
When it comes to selecting the appropriate color for your chrome nail polish, opting for a dark shade is often the best choice. The dark color provides a stunning contrast against the metallic finish of the chrome, enhancing the overall look and making it stand out. For achieving a captivating dark, metallic effect, consider using a black chrome nail polish as your base coat.
The Base Coat
Moving on to the application process, after you have chosen your base color, the next step is to apply a thin layer of it to your nails. Make sure to apply the polish evenly, covering the entire nail surface for a flawless finish. In some cases, you might need to add a second layer to achieve a more opaque base, especially if the base color is not fully covering your natural nail color.

Drying and Curing
After applying the base coat, the drying and curing stage comes into play. This step is crucial, especially if you are using a gel polish. For gel application, you'll need a UV/LED lamp to cure the polish, ensuring it sets properly and lasts longer. Allow sufficient time for the base coat to dry and cure to achieve beautiful, long-lasting chrome nails that will undoubtedly turn heads and earn you compliments.
The Chrome Transformation
This is where your nails transform from simple to stunning. In this section, you'll learn how to apply the chrome powder, achieve a uniform shine, and cure your chrome coat.
- Getting Started - With a solid base in place, it's time for the chrome magic to happen. You'll need your chrome powder and applicator for this step.
- Chrome Application - Take a small amount of chrome powder on your applicator, then gently rub it onto the nail's surface until you achieve a mirror-like finish. Remember to be patient and consistent for the best results.
- Perfecting the Shine - After the chrome powder is applied, use a clean silicone brush to remove any excess powder. A light buffing can help achieve a more uniform shine.
- Curing Again - Lastly, cure your nails under the UV/LED lamp again. This step helps set the chrome powder and makes it more durable.
Securing the Shine
Protecting your chrome nails with a top coat is vital for longevity. We'll discuss how to apply a top coat and ensure that your nails continue to shine brilliantly.
Importance of Top Coat
The significance of the top coat in your chrome nail manicure cannot be overstated. This final step acts as a safeguard, shielding your hard work and efforts from the rigors of daily life. By creating a protective barrier, the top coat helps prevent chipping and fading, ensuring that your chrome nails remain stunning and flawless for an extended period.
Top Coat Application
When applying the top coat, precision is key. Ensure you apply a thin layer evenly over your nails, being careful to cover the entire surface and neatly capping the ends. This sealing technique not only enhances the overall appearance but also contributes to the durability of your manicure.
The Final Cure
Once the top coat is skillfully applied, it's time for the final cure. Returning your nails under the UV/LED lamp for one last session is crucial. This curing process further solidifies the top coat, enhancing its resistance to scratches and damage. Additionally, the curing intensifies the glossy finish, resulting in ultra-shiny chrome nails that are sure to catch everyone's eye.
Maintenance Tips
Maintaining your manicure is just as important as creating it. Here, we'll offer tips on daily nail care, protecting your manicure, and performing regular touch-ups to prolong your chrome nails' life.
- Daily Nail Care - For maintaining your stunning manicure, regular nail care is key. Moisturizing your hands and nails can prevent chipping and help your manicure last longer.
- Protect Your Manicure - If you're doing chores that could damage your nails, consider wearing gloves. This small step can significantly extend the life of your manicure.
- Regular Touch-ups - Regular touch-ups with your top coat can also help maintain the shine and longevity of your chrome nails.

You've put in the work, followed the steps, and now, you have stunning, salon-quality chrome nails to show for it. Remember, the beauty of DIY is the journey of learning and creativity. The joy is in the process as much as it's in the results.
Choosing a cruelty-free nail polish, you've made an ethical choice that's better for the planet and your nails. So, go forth and show off your stunning nails! Don't forget, your nail polish pack is waiting for you to experiment and create more stunning nail art at home. Happy DIY-ing!