Hello, dear readers! Today, we dive into an ocean of creativity and conscious consumption as we explore the fabulous realm of nail art. Specifically, we are focusing on various shades of the versatile color – purple. From lavender to deep purple, the breadth and depth of this color provide an extraordinary palette for nail art enthusiasts.
Vegan Nail Polishes: An Ethical Choice

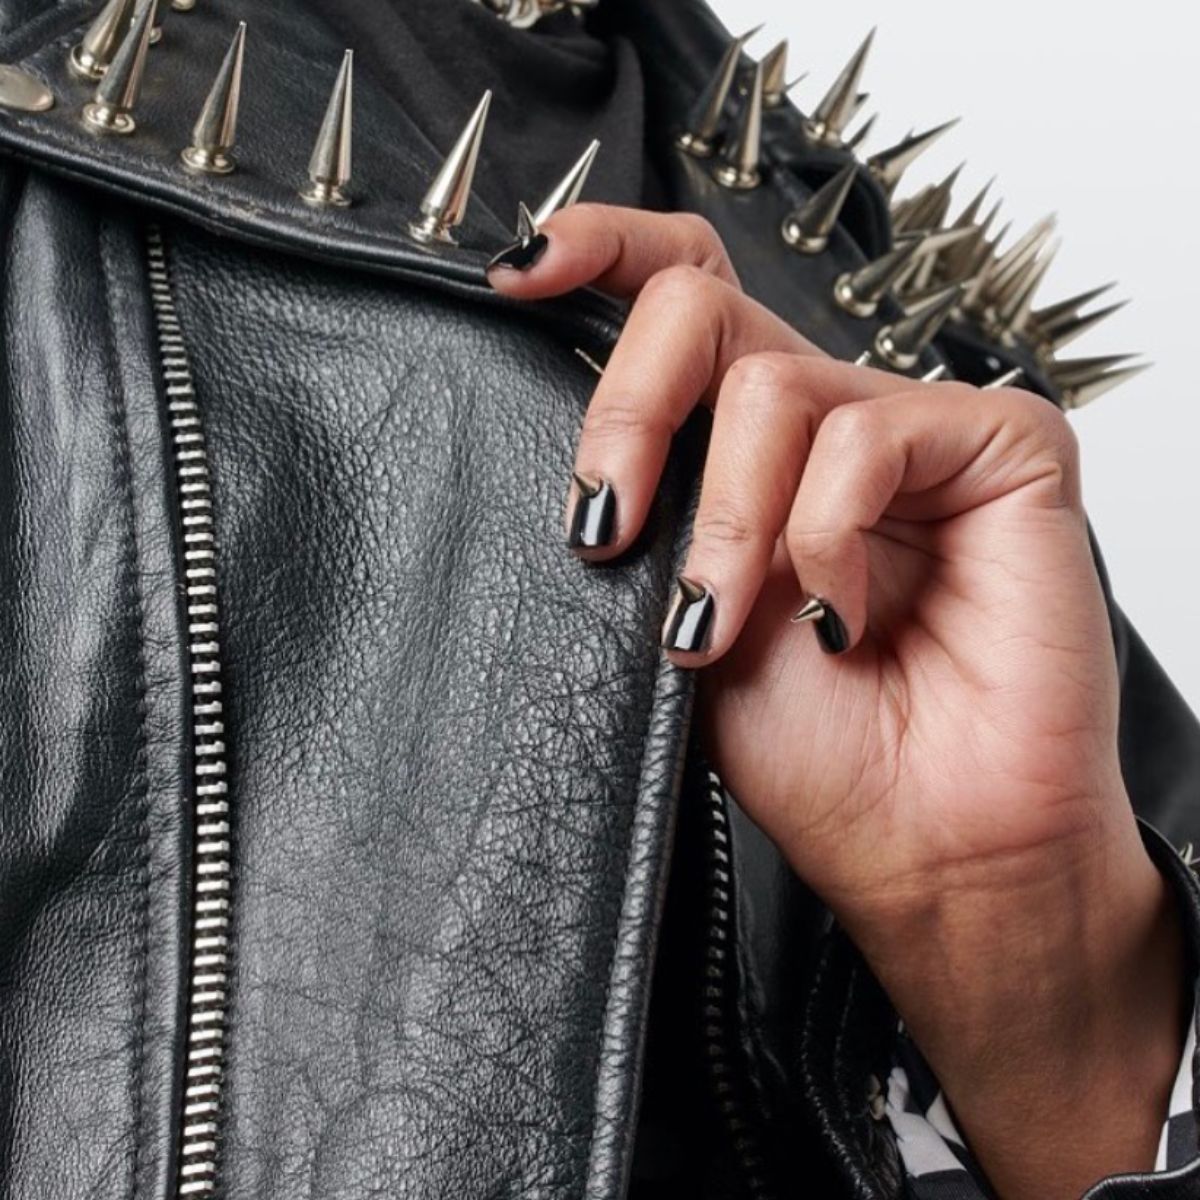
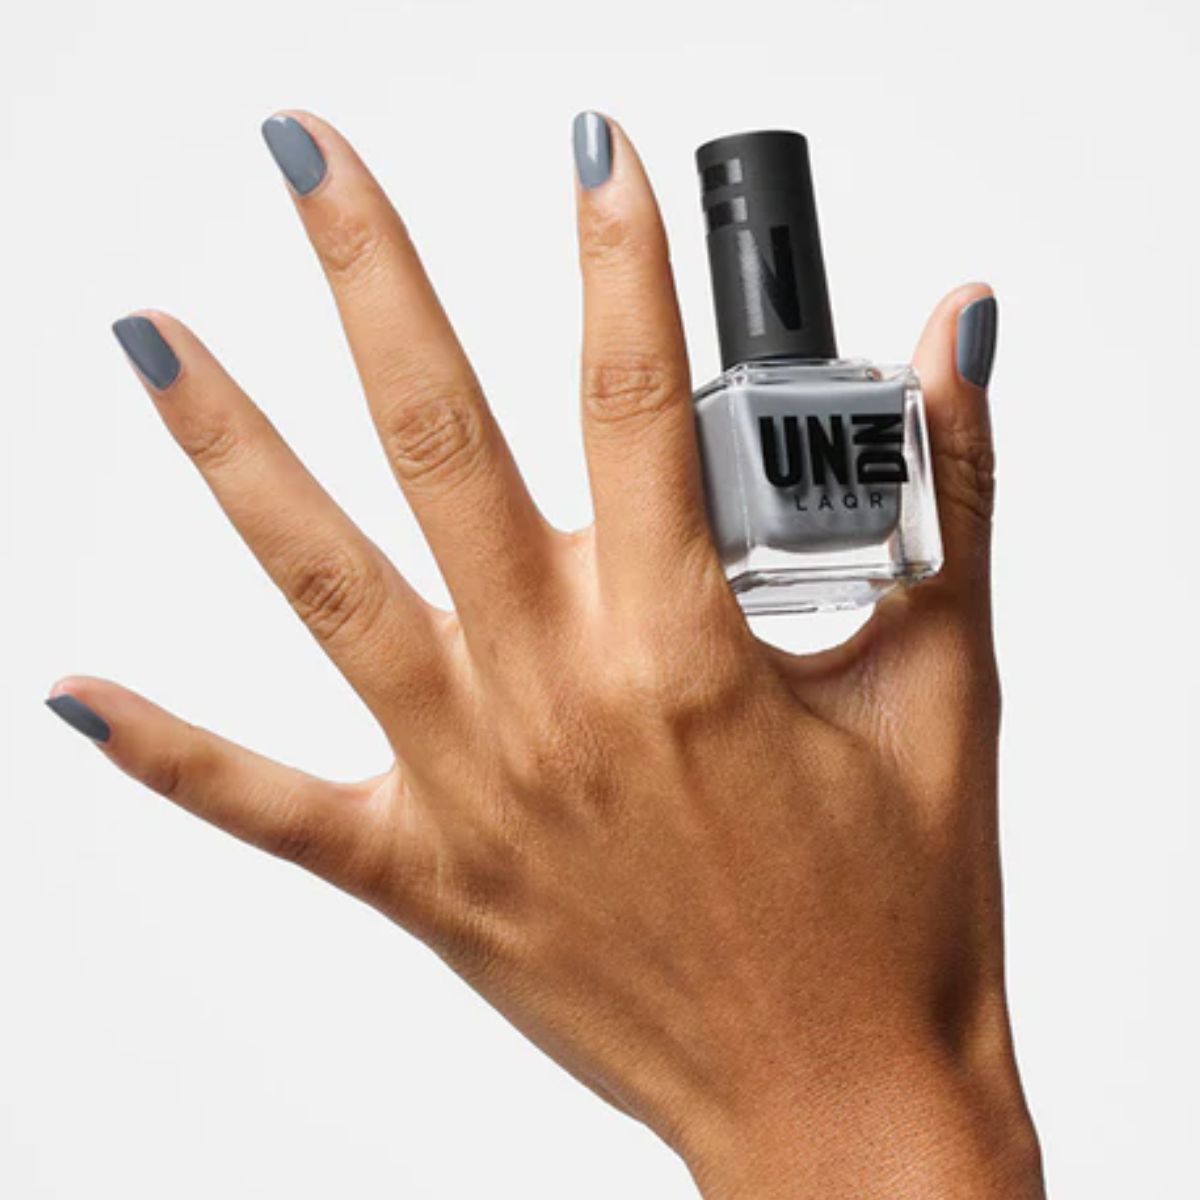
As we move towards a more conscious world, many of us are becoming aware of the environmental footprint of our beauty routines. A significant step in this direction is the shift towards eco-friendly nail polish. Vegan nail polish, one such choice, is not just about animals but about quality and safety too. Free from harmful chemicals, the best vegan nail polish options offer longevity, vibrant color, and peace of mind.
In the context of our purple-themed nail art, consider a lavender purple nail polish or a dark purple nail polish that falls under cruelty-free nail polish choices. Remember, the brands aren't important – it's about making a conscious decision for the planet and its beings.
Entry-Level Lavender Creations
Here, we present some beginner-friendly designs that can be achieved with simple tools, perhaps even those found in basic nail art kits.
Solid Purple Majesty
If you're new to the world of nail art and looking for a design that is both eye-catching and uncomplicated, a solid color approach can be your perfect choice. Opting for a lovely lavender purple nail polish will give your nails a soft and ethereal appearance.
To achieve this look, begin by ensuring your nails are clean and free of any old polish. Then, apply a base coat to protect your natural nails and provide a smooth canvas for the color. Next, carefully apply two coats of your selected lavender polish, allowing each coat to dry completely before proceeding. Once you've achieved the desired opacity, it's time to seal in the color and add shine by applying a topcoat. Remember to let the topcoat dry thoroughly to prevent smudging or smearing.
Gradients of Purple
If you're willing to put in a little extra effort, creating a gradient design with different shades of purple can yield stunning results. For this technique, you'll need two shades of purple nail polish, such as a delicate lavender and a deeper, richer hue. Begin by prepping your nails with a base coat, which helps protect them and ensures longer-lasting polish. Once the base coat is dry, apply the lighter shade of purple polish to your entire nail, covering the surface evenly.
While the polish is still wet, take a sponge and gently dab the darker color onto the tips of your nails. Using a gentle blending motion, blend the two shades together on the nail to create a seamless transition. Once you're satisfied with the gradient effect, finish off with a topcoat to lock in the design and provide a glossy finish. Allow ample drying time to avoid any smudging or compromising the intricate gradient you've just created. With this technique, your nails will boast a captivating play of purples that is sure to turn heads.
Stepping Up with Intermediate Designs
Once comfortable with the basics, you can venture into more intricate designs.
For those who want to infuse a playful element into their nail art, a polka dot design featuring various shades of purple is an excellent choice. To achieve this whimsical look, begin by applying a base coat to protect your nails and provide a smooth surface. Follow it up with two coats of a light purple nail polish, ensuring each layer dries completely before proceeding. Once your nails are dry, it's time to add the polka dots.
You can use a dotting tool specifically designed for nail art or a simple toothpick for this step. Dip the tool or toothpick into a dark purple nail polish and carefully create dots on each nail. Be creative with the dot size and spacing to achieve a fun and dynamic pattern. Once you're satisfied with the polka dot arrangement, seal the design with a topcoat to protect the dots and add a glossy finish. Allow ample drying time to prevent smudging and enjoy your delightful polka dot party-inspired nails.
Striking Purple and Silver Stripes
To create a visually striking nail design, consider combining the regal beauty of purple with the sleek elegance of silver. After applying a base coat to protect your nails, apply two coats of a deep purple nail polish. Allow each layer to dry thoroughly before moving on to the next step. Once the purple polish is completely dry, it's time to introduce the silver element.
To achieve clean and precise stripes, utilize striping tape, which is readily available in most nail art supply stores. Place the striping tape on your nails in a pattern that suits your preference, creating evenly spaced stripes across each nail. With the tape in place, carefully apply a silver polish over the exposed areas of the nail. Once you have achieved the desired coverage, gently peel off the striping tape to reveal the striking contrast between the deep purple and shimmering silver stripes. Finally, apply a topcoat to seal the design and enhance its shine. Allow the topcoat to dry completely before flaunting your glamorous purple and silver striped nails.
Advanced Nail Art Endeavors

For those with a steady hand and an adventurous spirit, advanced designs can offer a satisfying challenge.
Purple Marble Magic
A marble design offers a captivating and eye-catching nail design that is sure to make a statement. To achieve this mesmerizing look, begin by applying a pristine white base coat to your nails. Next, carefully dot your selected purple nail polish onto the nails, creating small spots in random patterns.
While the polish is still wet, gently glide a fine brush through the dots, allowing the colors to blend and form a marble effect. For added depth and contrast, incorporate a darker shade of purple nail polish into the design. Once the desired marble effect is achieved, seal the look with a high-quality topcoat for a glossy and long-lasting finish.
Stamping Splendor
If you're seeking a nail art technique that offers intricate and consistent designs, this is the way to go. This method requires a stamping plate adorned with various designs, a scraper to remove excess polish, and a stamper to transfer the design onto your nails.
Begin by applying your preferred purple polish onto the design of the stamping plate. Use the scraper to remove any surplus polish, ensuring that the design remains intact. Swiftly press the stamper onto the plate, capturing the design, and promptly transfer it onto your prepared nails with a gentle pressing motion. Finally, complete the look by applying a topcoat to seal the design and prolong its longevity.
Pro Tips for Nail Art Success
Mastering nail art takes practice, but a few general tips can make the journey easier and more enjoyable. Always ensure your nails are clean before starting, and don’t rush the drying process between coats. Try experimenting with different tools, like toothpicks or makeup sponges, to create unique effects. If you're using vegan nail polish brands, you're already on the right track – their quality ingredients often provide a smoother application and finish.
Finally, the beauty of nail art is that it's just as much about the process as the final product. So, if a design doesn't turn out perfectly the first time, don't be disheartened. Keep practicing, keep experimenting, and most importantly, keep having fun.
In this exploration of purple nail art, we've seen that creativity and ethical choices can go hand-in-hand. From simple solid colors to complex marble designs, there's a purple-themed creation for everyone. Whether you're using a soft lavender or a bold deep purple, the journey is yours to make. So, why not pick up that cruelty-free nail polish and start creating today?